Embarking on a Disco Ball Painting labor can be an excite and reinforce experience. Whether you're a temper artist or a beginner appear to add a touch of glamour to your space, make a disco ball paint can transmute any room into a vivacious, retro inspired haven. This guide will walk you through the steps to create your own stunning disco ball painting, from gathering materials to impart the terminal touches.
Gathering Your Materials
Before you start, it's essential to gather all the necessary materials. Here's a list of what you'll need:
- Canvas or a wooden board
- Acrylic paints in respective colors (black, white, and metallic colors like gold, silver, and bronze)
- Paintbrushes in different sizes
- Pencil and eraser
- Ruler or quantify tape
- Painter's tape
- Sponge or cloth for blending
- Clear sealant spray
Preparing Your Canvas
Start by preparing your canvas or wooden board. Ensure the surface is clean and gratuitous of any dust or debris. If you're using a canvas, you might want to utilise a establish coat of black or white paint to create a solid background for your disco ball painting.
If you're using a wooden board, sand it lightly to remove any rough spots and utilize a priming to seal the wood and provide a smooth surface for painting.
Sketching the Disco Ball
Using a pencil and ruler, lightly sketch the outline of your disco ball on the canvas. You can draw a perfect circle freehand or use a compass for precision. The size of the disco ball will depend on the dimensions of your canvas or board.
Once you have the outline, add guidelines to assist you with the shade and highlights. These guidelines will serve as a acknowledgment for creating depth and dimension in your painting.
Painting the Base Colors
Begin by painting the base color of your disco ball. For a authoritative disco ball effect, commence with a black background. Allow the free-base coat to dry totally before move to the next step.
Next, use a metallic paint coloring like gold, silver, or bronze to paint the disco ball itself. Apply the paint in thin, even layers, permit each stratum to dry before bring the next. This will help accomplish a smooth, glossy finish.
Adding Highlights and Shading
To create the illusion of a pondering disco ball, you'll take to add highlights and shadow. Use a flatboat shade of metallic paint to add highlights to the areas where the light would course hit the ball. This will give the disco ball a shiny, broody appearance.
For the shading, use a darker shade of metallic paint or black to add depth to the ball. Apply the shading to the areas where the light would be blocked, creating shadows and adding attribute to your paint.
Use a sponge or cloth to blend the highlights and shading, make a smooth transition between the different shades. This will help achieve a more realistic and shine look.
Creating the Reflective Effect
To enhance the pensive effect of your disco ball paint, you can add modest, circular highlights using a fine fee paintbrush. These highlights should be pose indiscriminately around the ball to mimic the way light reflects off a disco ball.
You can also use a clear sealant spray to add a glossy finish to your painting. This will give the disco ball a more realistic, reflective appearing and protect the paint from fading or nick over time.
Allow the sealant to dry whole before plow the painting. This may take several hours or even overnight, depending on the type of sealant you use.
Note: When employ the sealant, make sure to work in a easily ventilate country to avoid inhale fumes. Follow the manufacturer's instructions for the best results.
Adding Background Elements
To complete your disco ball paint, view adding background elements that complement the disco ball. This could include stars, glitter, or other retro enliven designs. Use acrylic paints in various colors to make these elements and add them to the background of your paint.
You can also use painter's tape to create clean, straight lines and geometrical shapes in the background. This will add a modern, graphic element to your painting and heighten the overall disco theme.
Final Touches
Once you've added all the background elements, step back and assess your disco ball painting. Look for any areas that need touch ups or additional details. Use a fine bung paintbrush to add any final touches and ensure that your painting looks polish and complete.
Allow the painting to dry wholly before displaying it. This may guide several hours or even overnight, reckon on the type of paint and sealant you used.
When displaying your disco ball painting, deal the lighting in the room. A easily lit area will enhance the reflective effect of the disco ball and create it the focal point of the room.
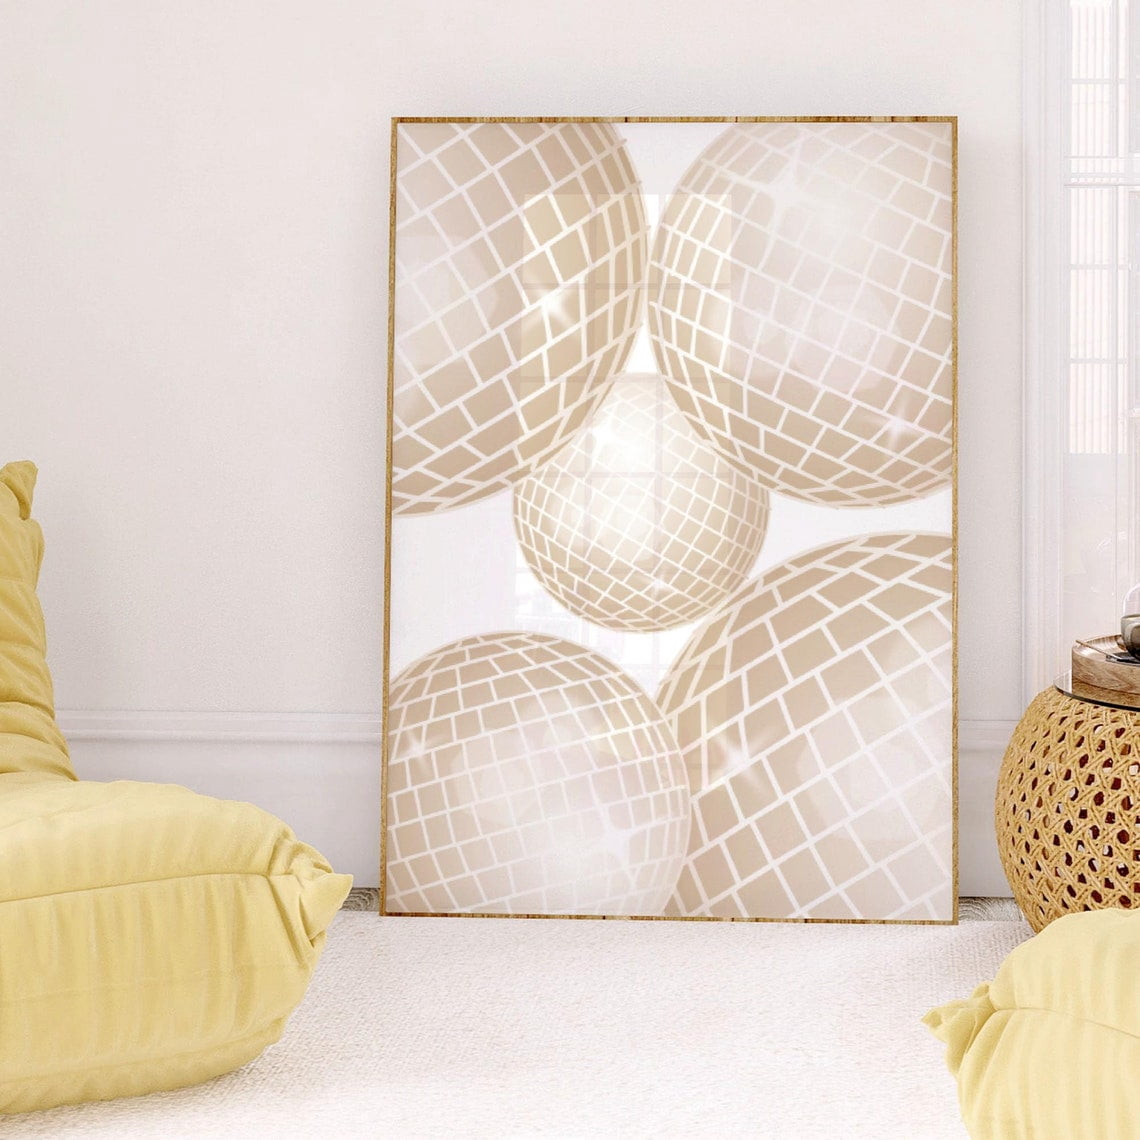
You can also add a frame to your paint to yield it a terminate look. Choose a frame that complements the colors and style of your disco ball paint for a cohesive and stylish display.
If you're feeling adventurous, you can even create a series of disco ball paintings in different colors and sizes to make a stun gallery wall. This will add a dynamic and eye catch element to any room.
Here is a table to help you select the right colors for your disco ball paint:
| Color Scheme | Base Color | Metallic Color | Highlight Color | Shading Color |
|---|---|---|---|---|
| Classic Disco | Black | Gold | Light Gold | Dark Gold Black |
| Modern Glam | White | Silver | Light Silver | Dark Silver Black |
| Retro Chic | Black | Bronze | Light Bronze | Dark Bronze Black |
Creating a Disco Ball Painting is a fun and originative way to add a touch of glamour to your space. By follow these steps and using the right materials, you can make a daze disco ball painting that will be the centerpiece of any room. Whether you're a mollify artist or a beginner, this project is sure to be a hit and a outstanding way to express your creativity.
In enclose up, the process of create a Disco Ball Painting involves careful planning, precise execution, and a touch of creativity. From gathering materials to lend the net touches, each step plays a important role in bringing your vision to life. The reflective and vibrant nature of a disco ball painting can transmute any space into a lively and glamourous environment, get it a perfect add-on to your home or office decor. Whether you choose to create a hellenic disco ball or experiment with mod and retro themes, the end solvent will be a singular and eye catching piece of art that reflects your personal style and creativity.
Related Terms:
- diy disco ball paint
- disco ball paint ideas
- disco ball art work
- watercolour disco ball painting
- diy disco ball art
- how to paint disco ball